Yema Recipe
If you’ve ever been to a Filipino party, you’ve probably come across deliciously sweet candy wrapped up in brightly colored cellophane. Whether you make it at home or buy it from a store or market, this yema recipe will capture the heart of any Filipino, young and old. I even consider it to be one…
This post may contain affiliate links. Please read our disclosure policy.
If you’ve ever been to a Filipino party, you’ve probably come across deliciously sweet candy wrapped up in brightly colored cellophane. Whether you make it at home or buy it from a store or market, this yema recipe will capture the heart of any Filipino, young and old. I even consider it to be one of my top 3 favorite Filipino desserts!
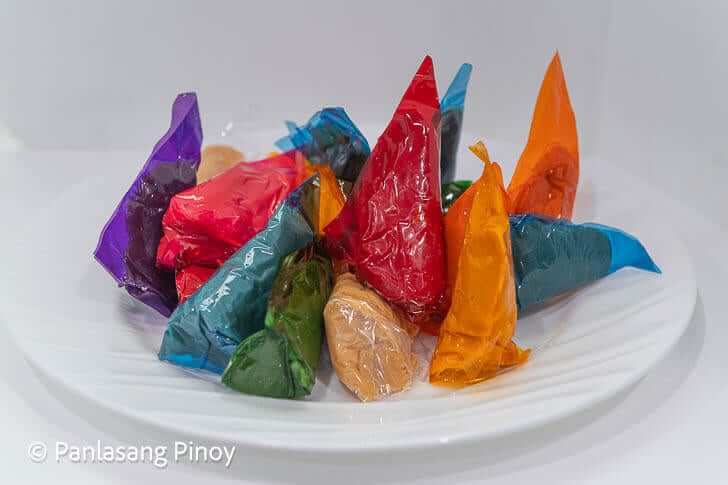
Thick and sticky and oh so sweet, one of the most recognizable aspects of yema is its golden yellow color. Yema is a Filipino dessert we love that comes from the Spanish word for “egg yolk.” Some reports say that during the Spaniards’ time, people used egg whites in a construction mixture to make newly built churches more durable. As a result, many egg yolks went to waste. When they mixed together the leftover yolks and sugar, this is how the candy was born!
Yema continued to become a Filipino dessert staple, and Filipinos began to put their own spin on it. This includes the ingredients used. Milk became another component of the dish when Filipinos learned how to boil it in order to bring out that almost buttery taste we all love.
So we know the word yema itself refers to egg yolk. But interestingly enough, the yema in this recipe doesn’t call for egg yolk at all. With just condensed milk and roasted peanuts, you can have your very own homemade yema candy –– creamy, rich, and mouthwatering!
The holiday season may be ending, but there is never a bad time to provide those around you with some snackable sweets. The pieces of yema I’m used to making are large in size. They make for a great gift for friends, coworkers, and even your loved ones. But in smaller doses, these tasty treats can also help you launch your own small business. With this easy to follow recipe you’ll have people flocking to buy your yema candy in record time.
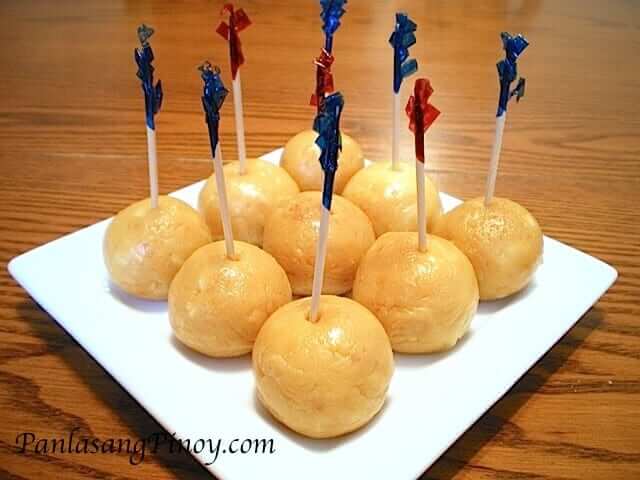
Yema can come in lots of different shapes. One of the most popular is the pyramid-shaped ones I am making in this recipe. My recipe for Yema Balls has the candy in a round shape, perfect for just popping in your mouth. Those have a longer prep time because there are more ingredients. But from small rectangles to cubes to even trapezoidal pieces, yema can be enjoyed in any shape. Let me know how you like to shape your yema.
How to make yema candy
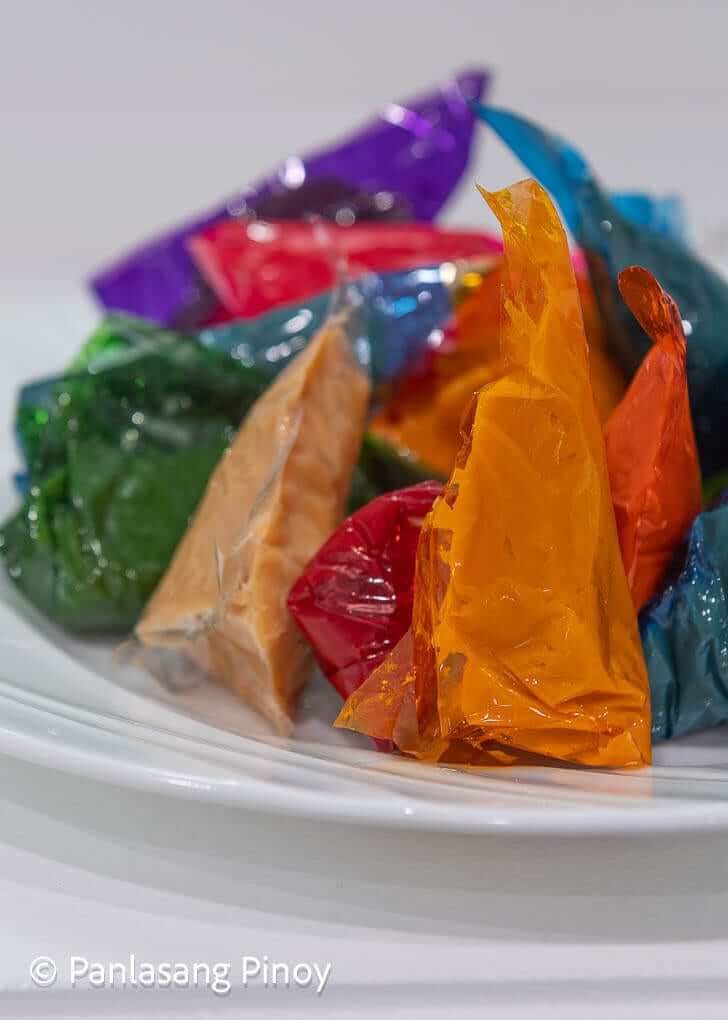
Like I mentioned earlier, this homemade yema recipe only has two main ingredients. These are the 2 small cans of condensed milk and 3 tablespoons of chopped peanuts. Other people add ingredients like sea salt, crushed cookies, and even chili pepper to put a twist on the well known sweet treat –– but you can never go wrong with the classics!
I try to get the most budget friendly peanuts I can find. But yema itself is a very adaptable recipe. If you’re not a nut person or have allergies to them, the recipe works just as well even with just the condensed milk.
Want a more sosyal version? Try substituting the peanuts for (skinless) almonds! But no matter what kind of nuts you’re using for your yema candy, make sure that they’re slightly roasted enough that their color is a lovely golden brown.
Once you’ve chopped your nuts and finished roasted them in your pan, set them aside. Pour in your 2 cans of condensed milk and let it boil at a medium heat. Then, stir it consistently for 10 minutes.
After 10 minutes, bring the heat down and add in your chopped nuts, stirring again for another 10 minutes. For yema, consistency is key –– nothing beats the sticky, paste-like texture of this candy.
Once you have achieved that consistency, transfer your yema to a bowl. Then, start wrapping your candies individually in cellophane. I had cut my cellophane with 4×4 dimensions, but you’re free to cut yours as big or as small as you want. This depends on the size of yema you’re after. This part is where your hands might have to get a little sticky –– but it’s all worth it! When you’ve finally let your sweets cool down, now you have your own special homemade yema!
Because it contains a dairy product, it is best to refrigerate your yema and consume them, if not right away, at least a few days after. If you want to add a little more variety to your dessert spread, there are several other Filipino desserts –– from leche flan to polvoron to pastillas –– that can appeal to you and your loved ones’ preferences.
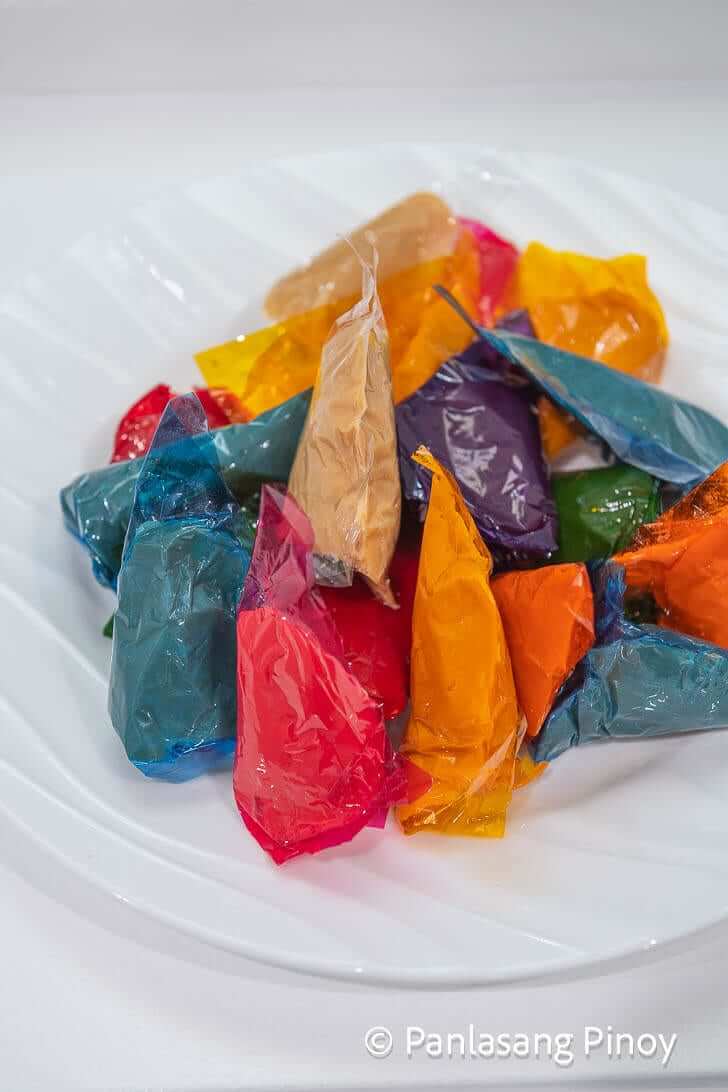
Enjoy! Let me know what you –– and your loved ones –– think.
Did you make this? If you snap a photo, please be sure tag us on Instagram at @panlasangpinoy or hashtag #panlasangpinoy so we can see your creations!

Yema Recipe
Ingredients
- 28 ounces condensed milk equivalent to 2 cans
- 3 tablespoons peanuts roasted
Instructions
- Chop the peanuts. Set aside.
- Pour condensed milk on a cooking pot. Let boil. Stir constantly while boiling for 10 minutes.
- Lower the heat. Add chopped peanuts. Continue cooking while stirring for another 10 minutes or until consistency becomes paste-like.
- Transfer yema mixture to a bowl.
- Start wrapping the yema candies individually on a pre-cut cellophane. (Note: The dimensions of my cellophane were 4x4 inches. You can decrease the dimension for smaller candies.)
- Let it cool down before eating. Share and enjoy!
Nutrition Information
Yema recipe in action
Leave a Comment