Cassava Cake Recipe Creamy and Cheesy Version
In all honesty, who can say no to a moist and spongy cake? There’s something so enchanting about having a generous slice of deliciousness just melt in your mouth. Cake is a favorite dessert for a reason—not just in the Philippines, but all across the world. But only in the Philippines can you find the…
This post may contain affiliate links. Please read our disclosure policy.
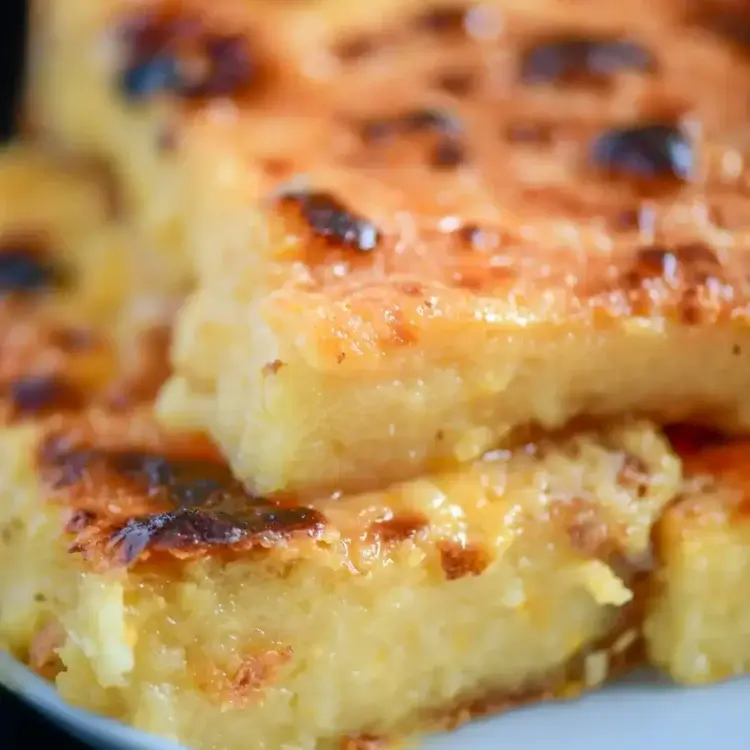
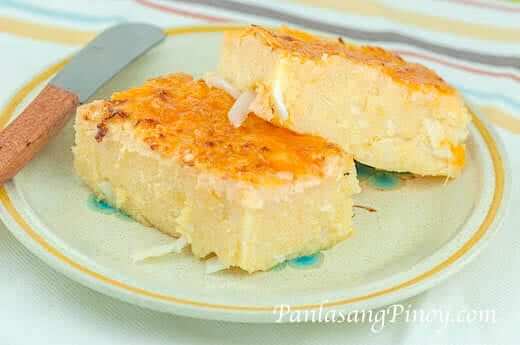
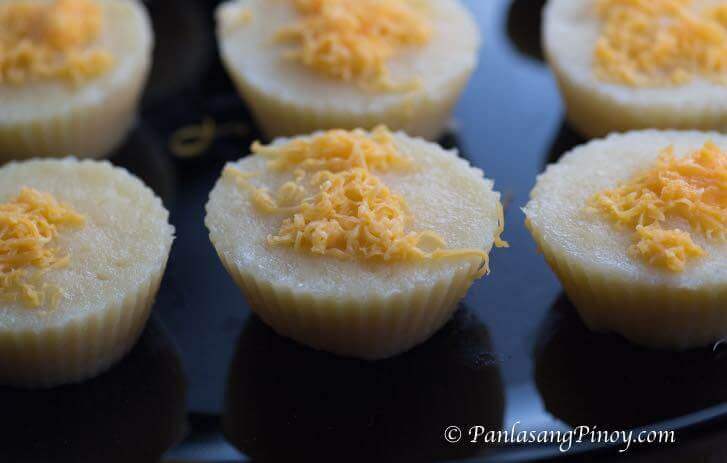
In all honesty, who can say no to a moist and spongy cake? There’s something so enchanting about having a generous slice of deliciousness just melt in your mouth. Cake is a favorite dessert for a reason—not just in the Philippines, but all across the world. But only in the Philippines can you find the incomparable and absolutely delectable cassava cake! Milky, creamy, and oh so moist, this cake (sometimes referred to as pudding) is a Filipino dessert and fiesta favorite. One bite is enough to make you see why!
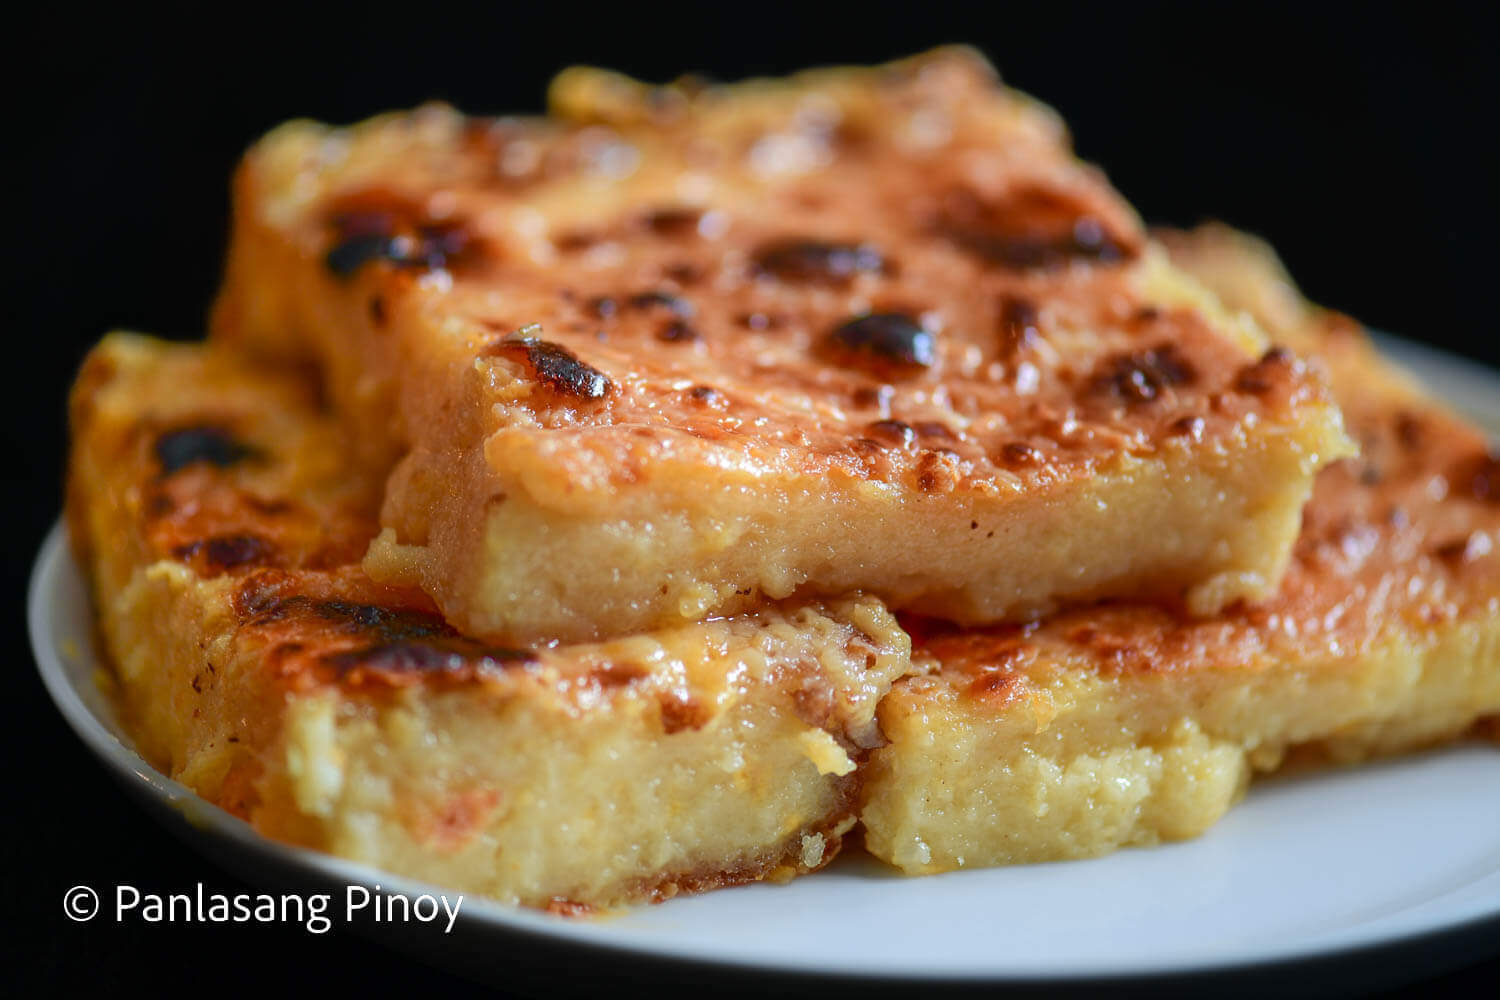
Whether it be a special gathering or an everyday treat, cassava cake is undoubtedly one of the tastiest Filipino desserts by far. Great with coffee or tea or simply by itself, this dessert is enjoyable no matter the company you’re enjoying it with.
This dish is a variation of bibingka, which is technically the umbrella term for our many different traditionally baked cakes. But instead of the classic bibingka which makes use of glutinous rice or galapong, cassava cake manages to set itself apart. In cassava cake, layers of cassava, coconut milk, and condensed milk come together to create a meal that’s undeniably sweet and tasty. And this recipe is one we’re making extra special with the addition of cheese and butter! Creamier and cheesier, this gives a little salty bite to your cassava cake without being overpowering—the perfect dessert!
Cassava Cake Ingredients
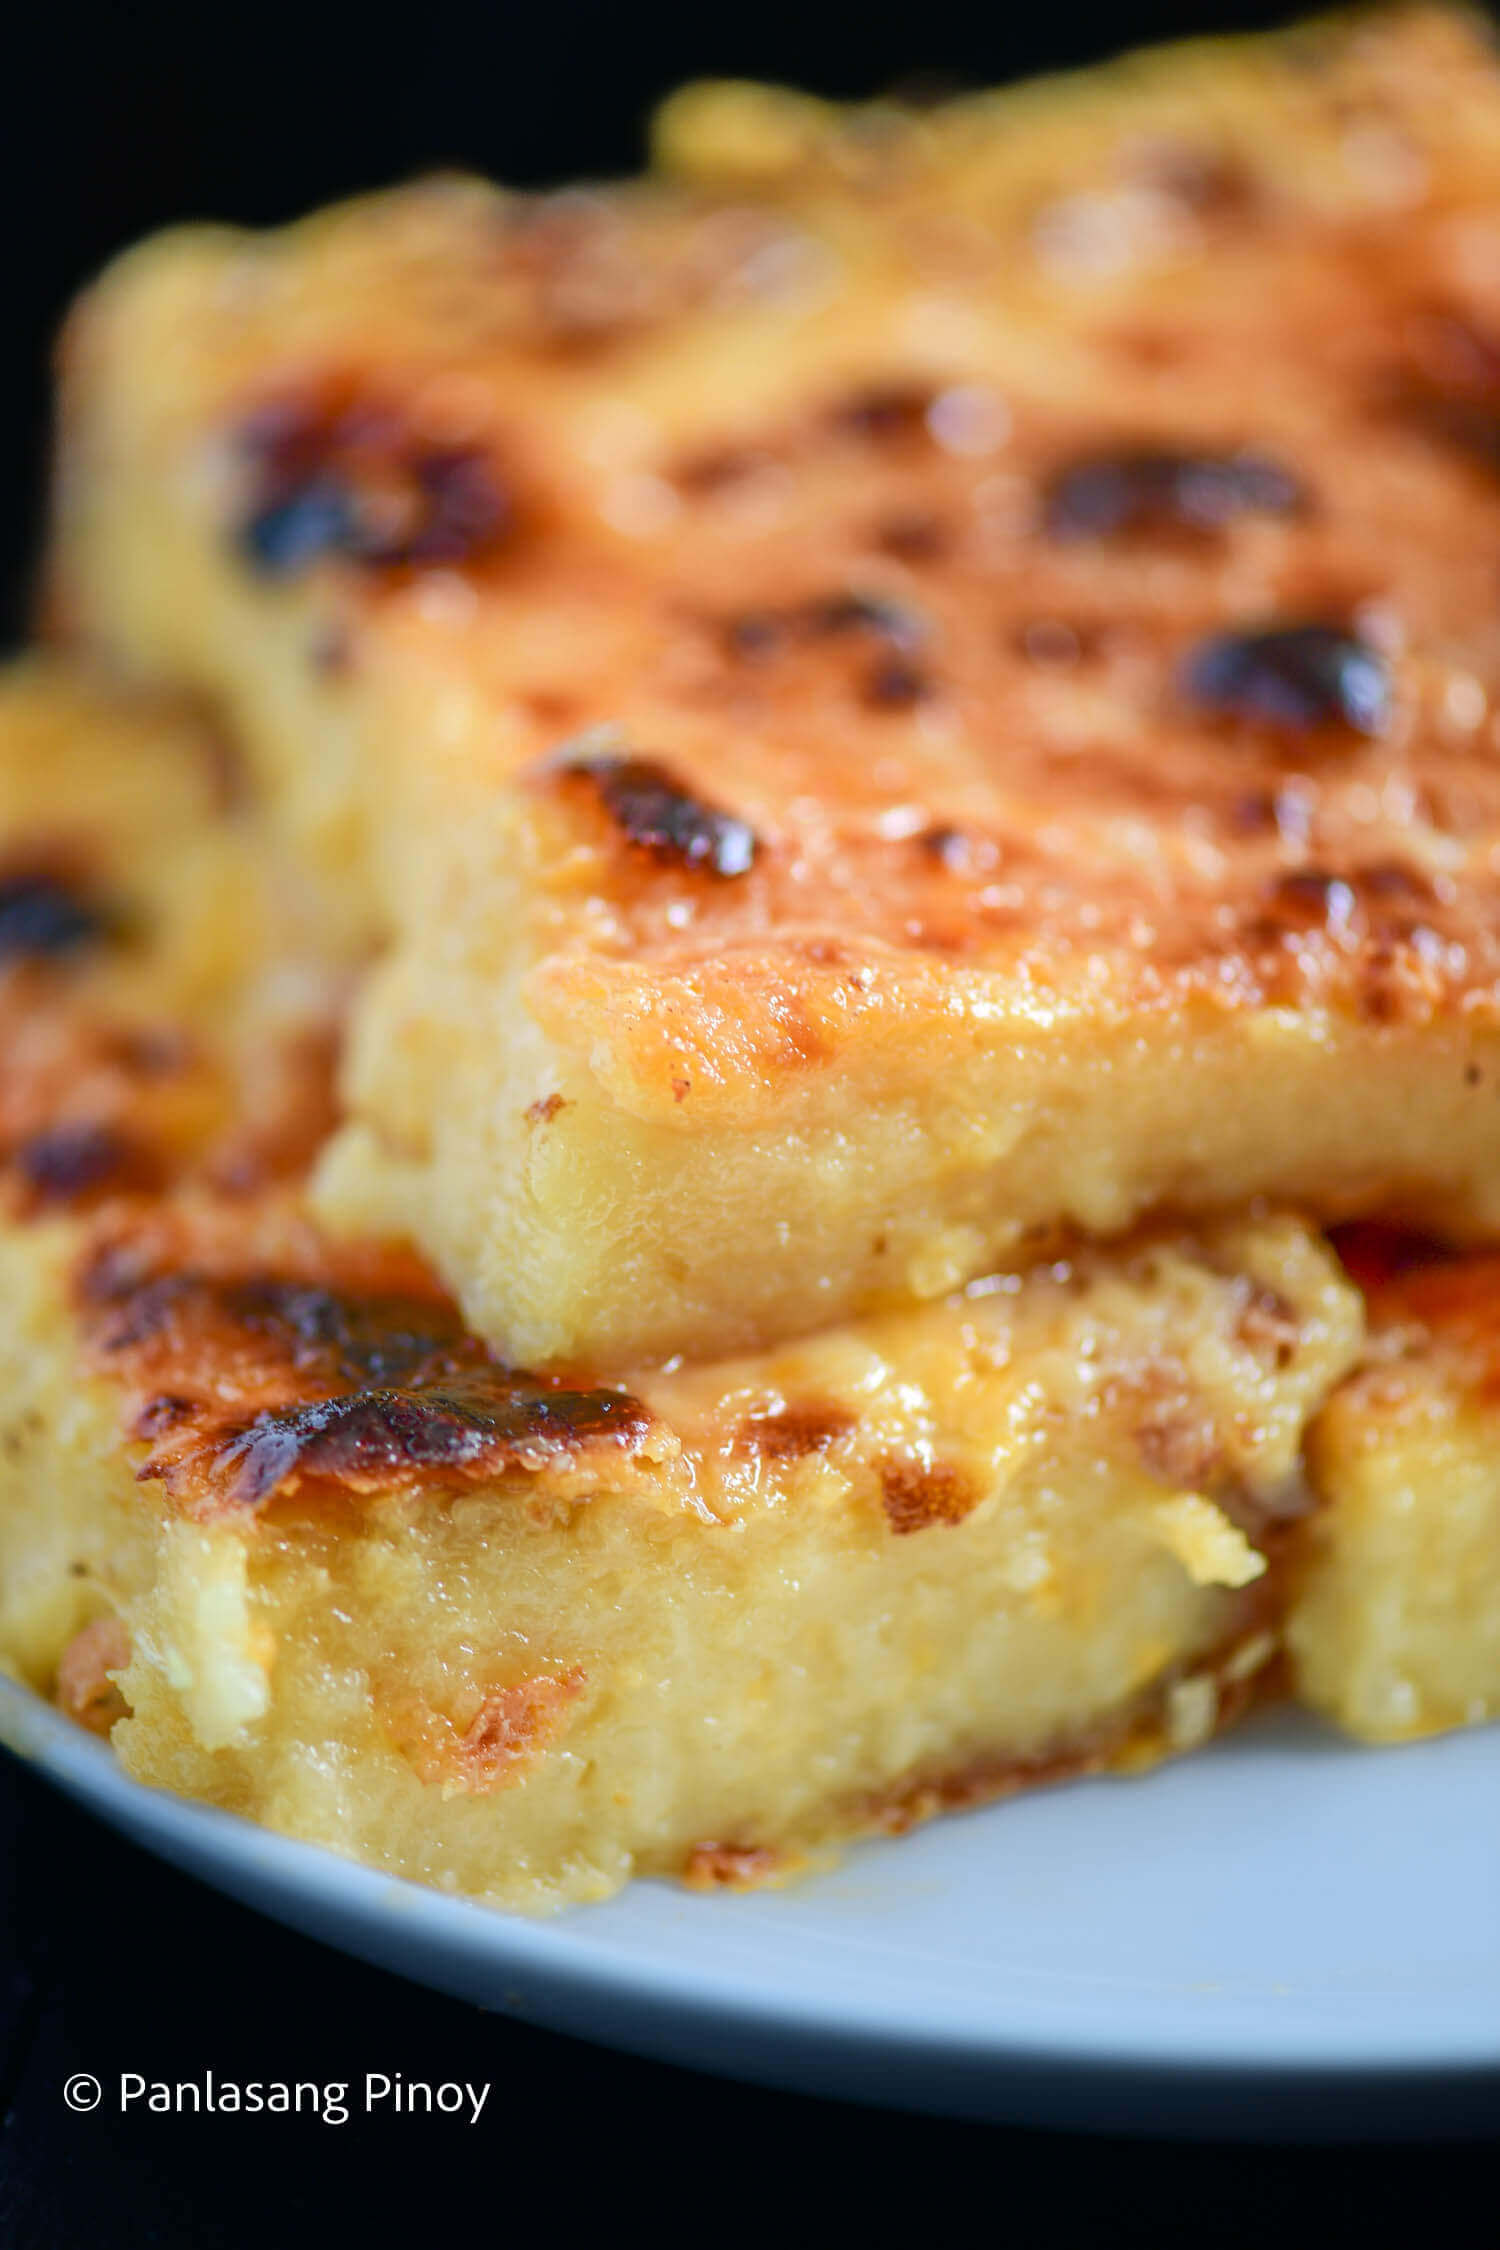
The ingredients for this cassava cake, cheese notwithstanding, are fairly common. This cake makes use of three particular elements: the cassava itself, coconut cream, and condensed milk. Each one of them has their own unique flavors that combine to produce a dessert that you’ll devour from top to bottom.
You’ll notice that this cassava cake doesn’t make use of white nor brown sugar. But that’s only because, as we mentioned prior, these ingredients are sweet on their own. Some cassava cakes end up becoming too decadent to enjoy properly, so having no sugar but all these other ingredients duly helps in balancing it out. But, if you are the type to have a bit of a sweet tooth, instead of adding sugar I recommend macapuno. Not only does it blend better with your coconut cream, but it adds a layer of texture you won’t be able to get from just plain sugar. You can also choose to add a teaspoon of vanilla extract for extra yumminess.
There are many different ways you can make cassava cake, whether it be by broiling, steaming, or baking it. The version we’re making today is the latter; it’s really hard to beat the sight and smell of a freshly baked cassava cake straight out of the oven! Store it in the fridge after, and you can enjoy your tasty dessert for up to a week!
How to Make a Cheesy, Creamy Cassava Cake
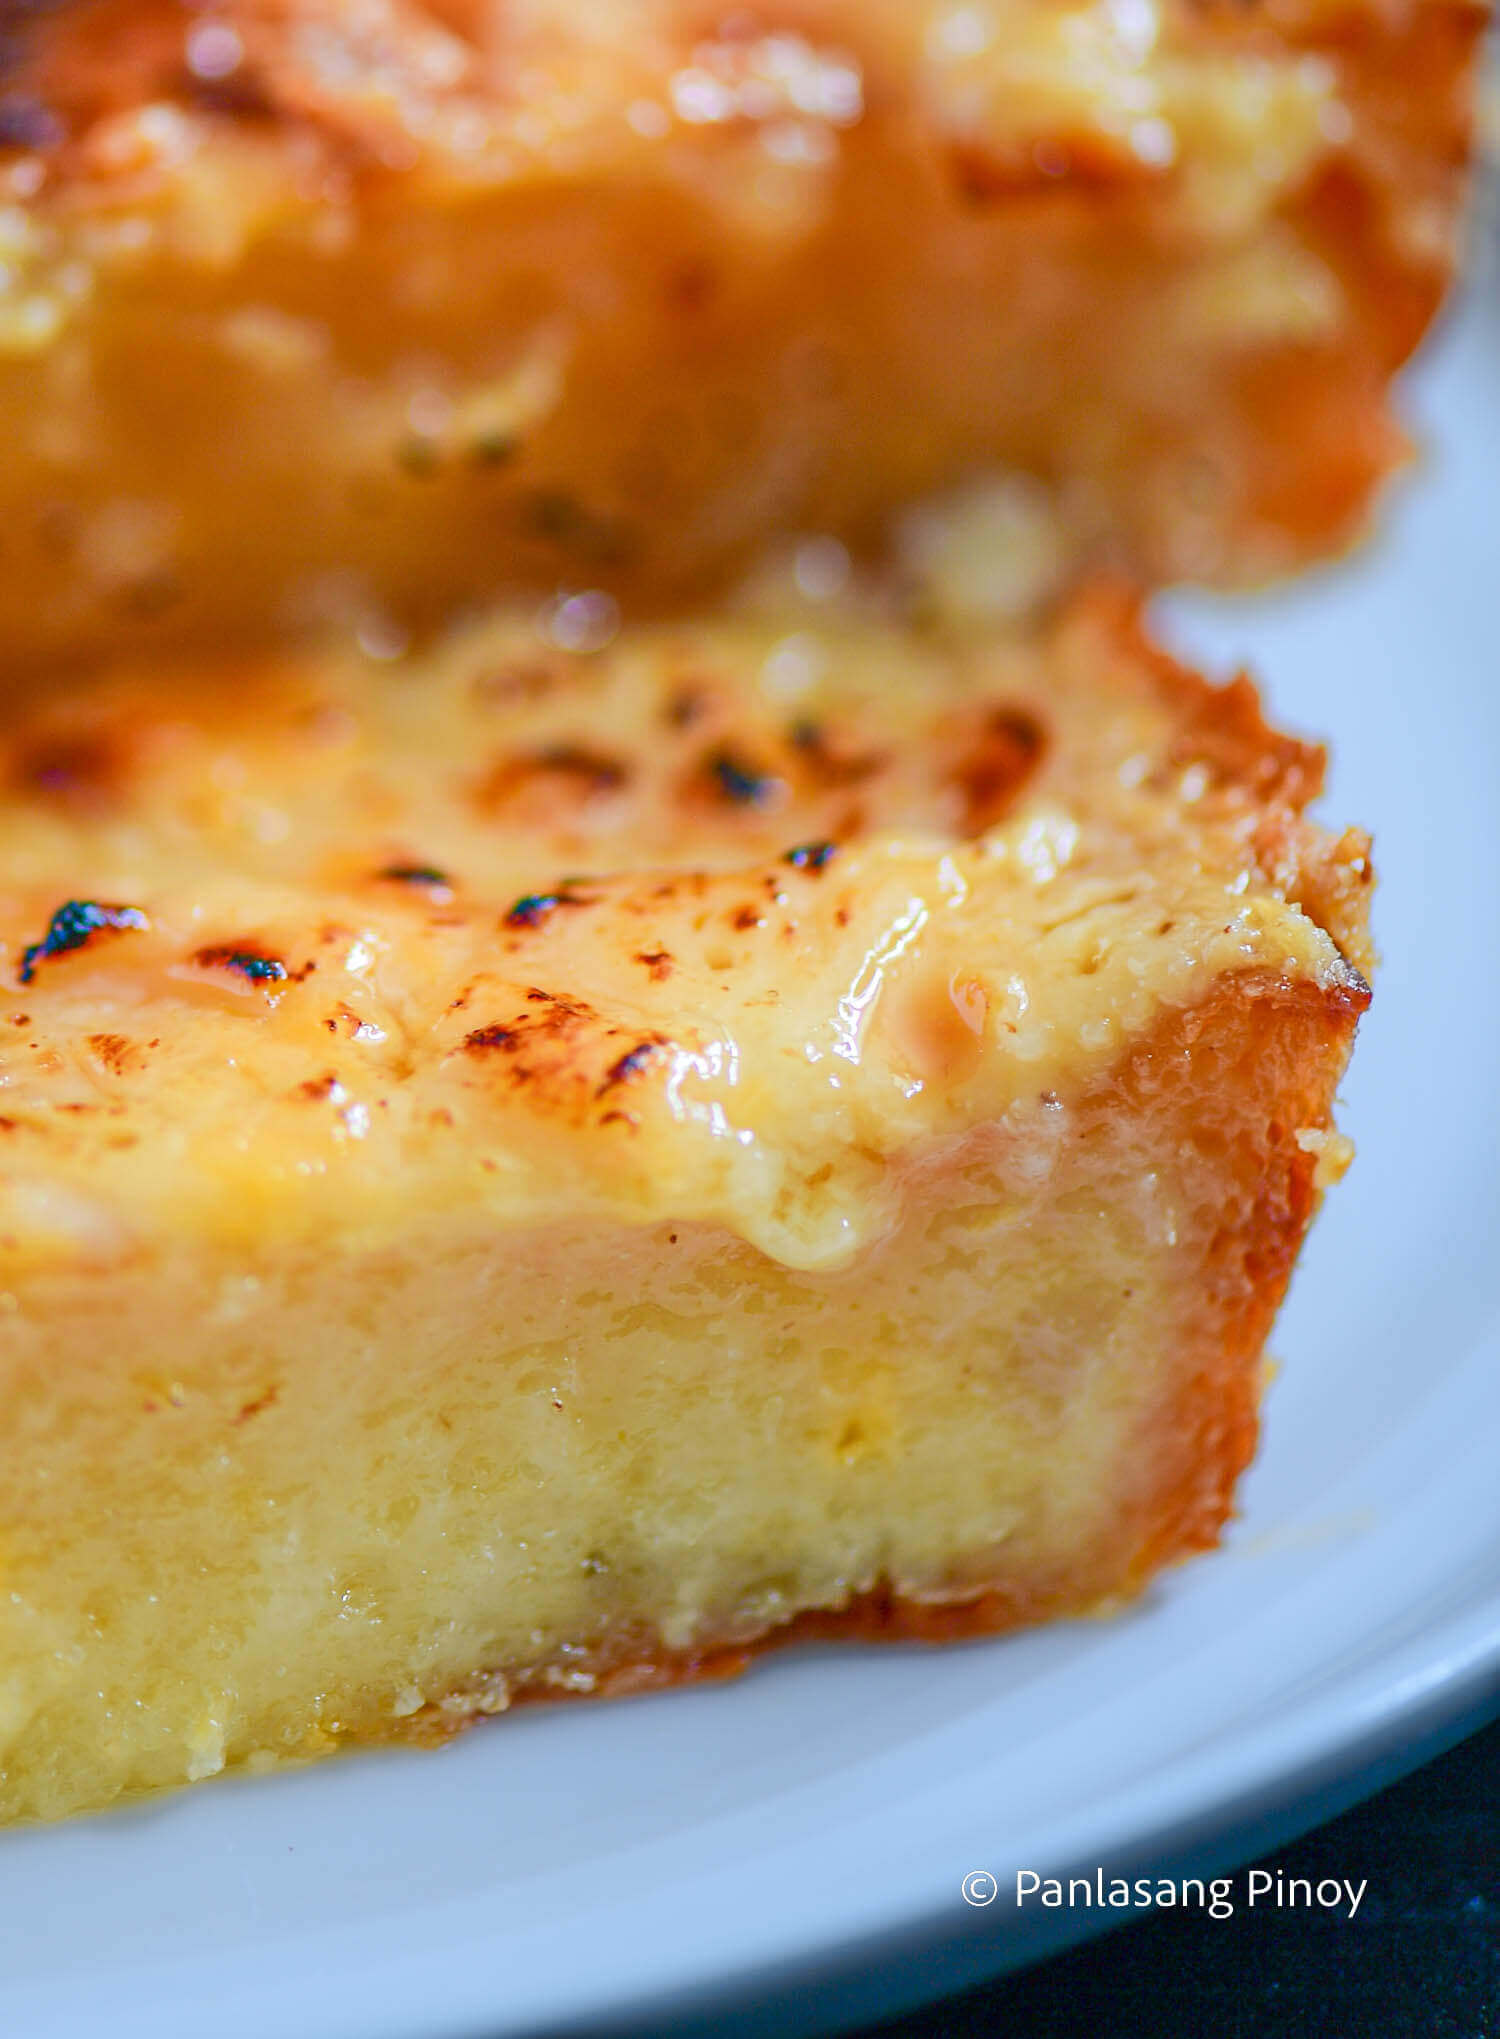
After preheating your oven to 350F, the first step in making your cassava cake is combining your wet ingredients. These include your eggs, evaporated milk, condensed milk, melted butter, and coconut milk or cream. Whisk these together until you get a nice and smooth texture, then toss in your grated cassava and half a cup of cheese. Mix these well, too! You want your batter as smooth as possible, chunky cassava notwithstanding. Take your cassava cake mixture and place it in a greased baking pan. Then, pop it in the oven and bake for about an hour.
Next, prepare your cassava cake’s topping! Mix coconut cream, condensed milk, quickmelt and butter in a clean bowl. Make sure, once again, that you have the consistency you’re after: something smooth and thick. Take your cassava cake, pour the topping over it, then put it back in the oven. The goal now is to keep baking for 350F until your top is as thick as you like it—almost like a custard. Don’t be alarmed if you notice it burns a little on top; that’s completely normal!
When ready and baked all the way through, remove your cake from the oven and let it cool down. Then, slice it into serving pieces and enjoy it with a hot beverage of choice. Time to dig in!
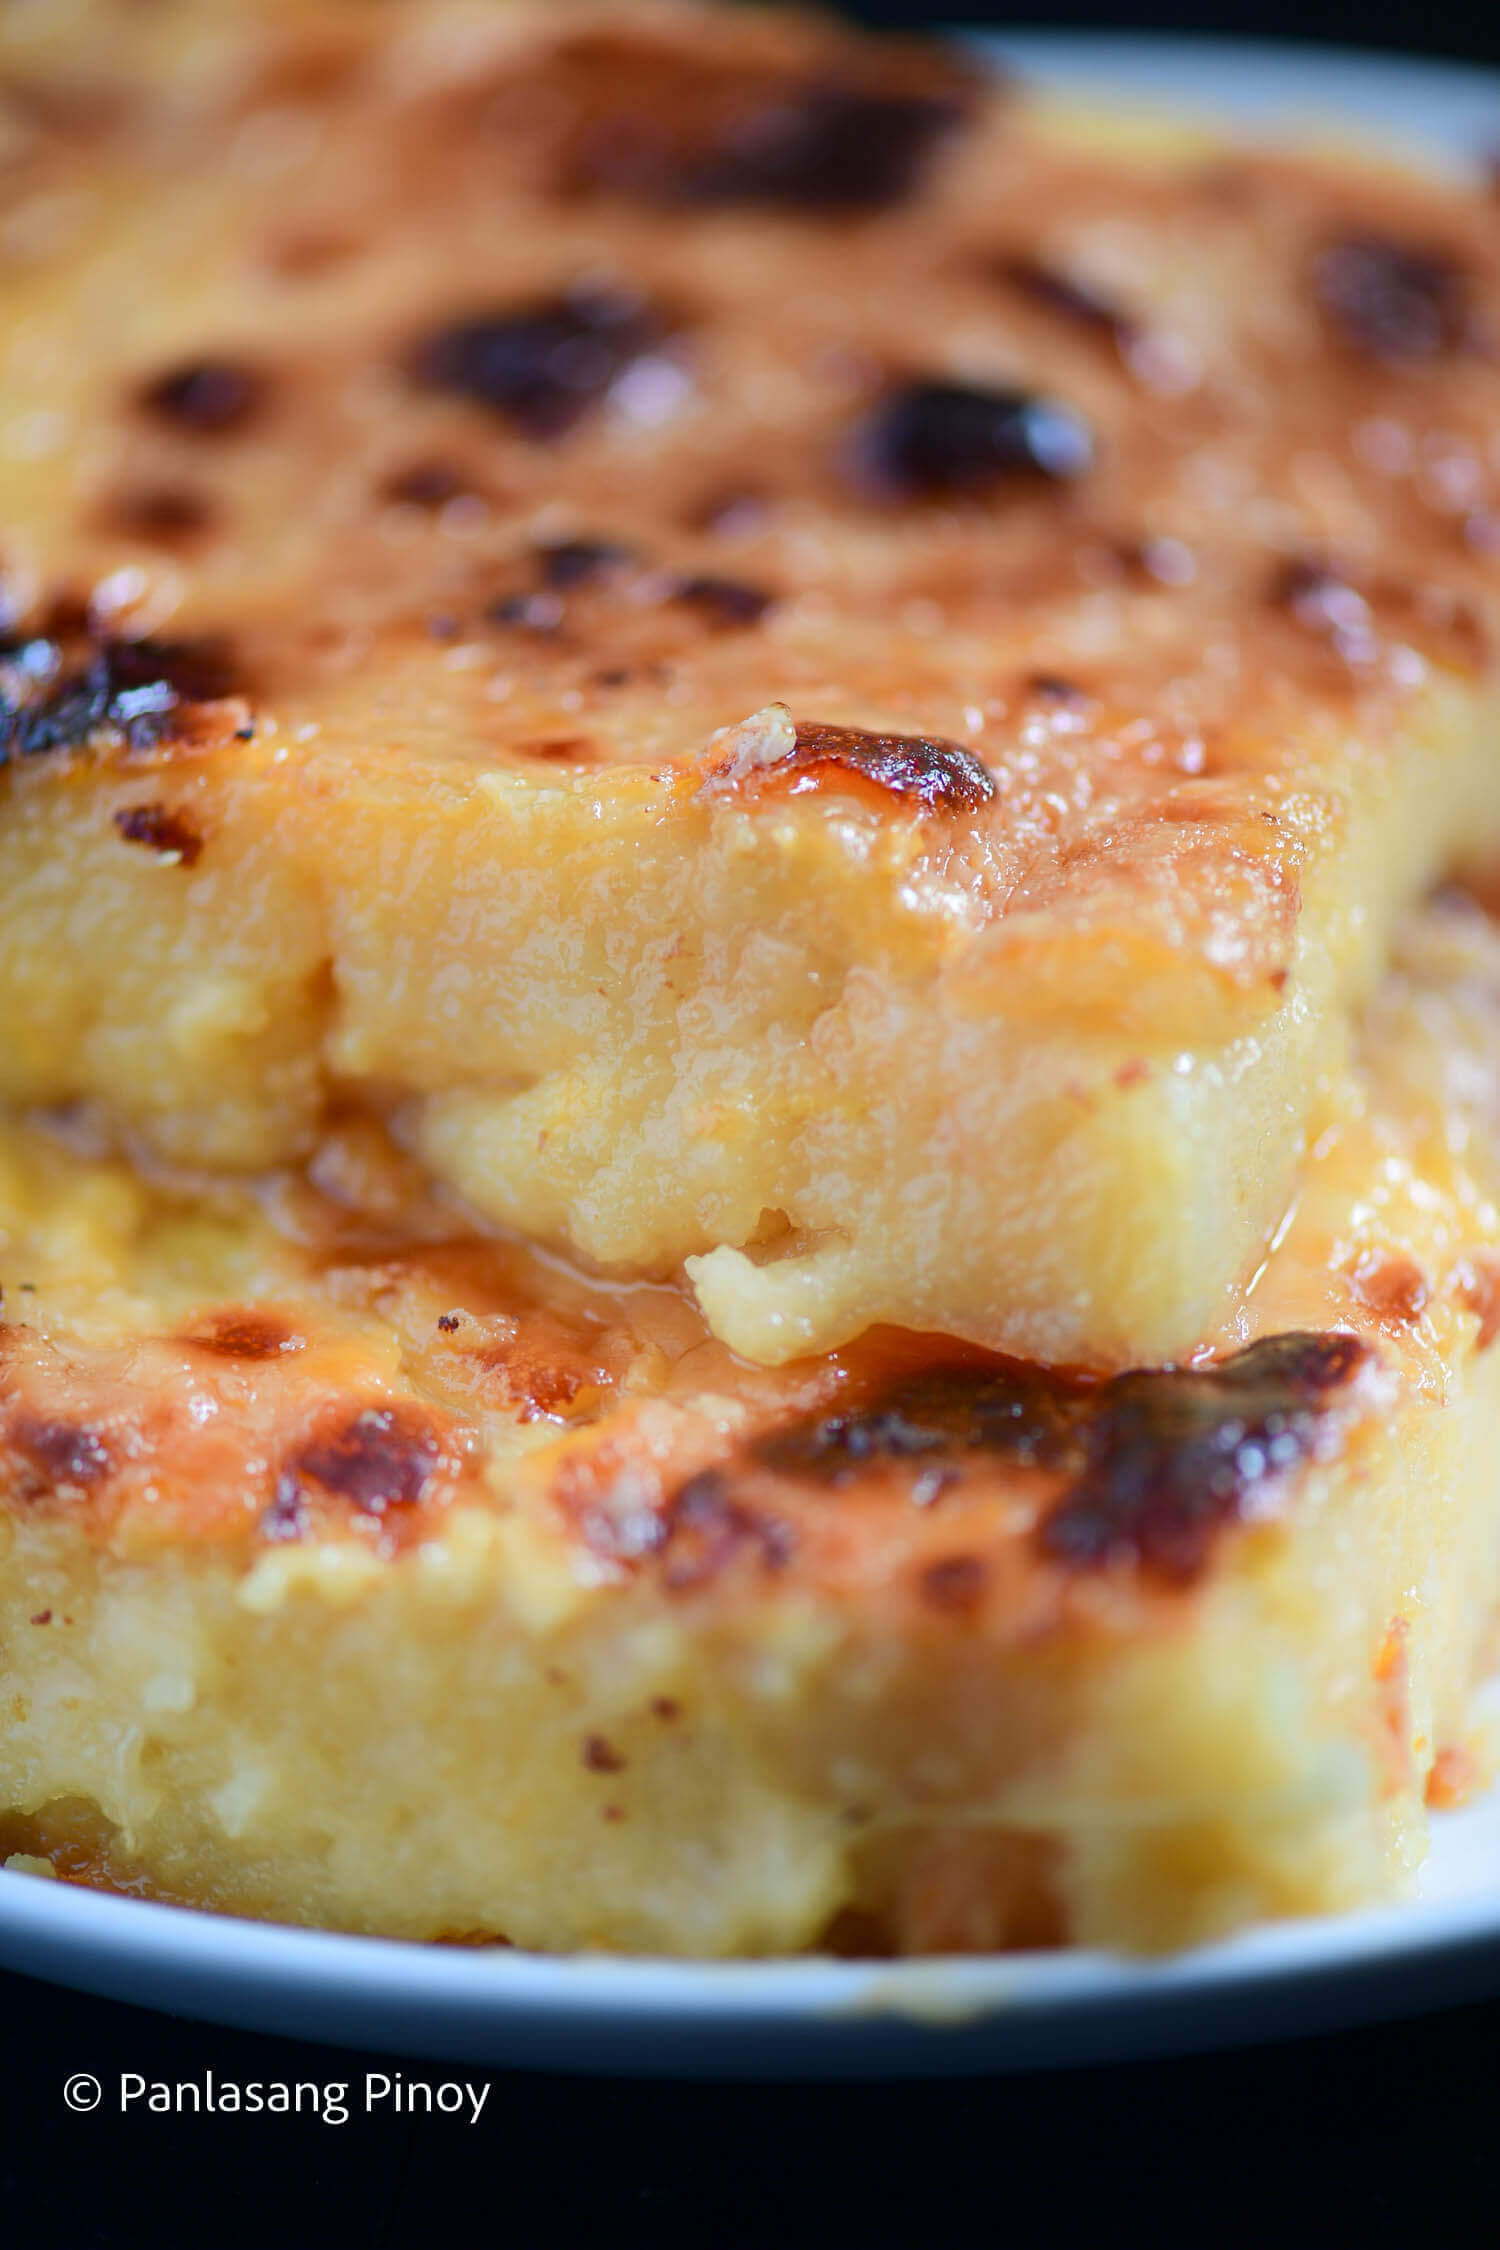
They say dessert is the best way to end any meal—and this cassava cake is a prime example! Let us know what you think of this cheesy, buttery delight!
Did you make this? If you snap a photo, please be sure tag us on Instagram at @panlasangpinoy or hashtag #panlasangpinoy so we can see your creations!
Cassava Cake Recipe Creamy and Cheesy Version
Ingredients
- 2 lbs. cassava grated
- 2 cups coconut cream
- 12 ounces evaporated milk
- 3 eggs
- 3 tablespoons butter melted
- 1/2 cup quick-melt cheese shredded
- 14 ounces condensed milk
Topping ingredients:
- 1 cup coconut cream
- 7 ounces condensed milk
- 1 cup quick-melt cheese shredded
- 4 tablespoons butter melted
Instructions
- Preheat oven to 350F.
- Combine the wet ingredients in a mixing bowl starting by cracking the eggs. Beat until smooth. Pour the evaporated milk, condensed milk, butter, and coconut milk. Whisk everything together until the mixture smoothens.
- Add the grated cassava and ½ cup cheese in the bowl where the wet ingredients are at. Mix well.
- Transfer the mixture into a greased baking pan. Bake for 1 hour.
- Prepare the topping my mixing all the toping ingredients in a clean bowl. Mix everything together. Set aside.
- Pour the topping mixture over the baked cassava. Put the baking pan back in the oven. Continue baking for 350F until the topping thickens. Note: You will notice that it will burn a bit, that is normal.
- Remove the baking pan from the oven. Let the cassava cake cool down.
- Slice the cake into serving pieces. Serve for dessert.
Notes
- Grated cassava can be bought frozen from most Filipino grocery stores. Fresh cassava can also be used, make sure to grate it finely and then wring it before using.
- You should also be able to use an air fryer to cook the cassava cake. Set it to the same temperature, but make sure to cover the pan with aluminum foil in the first hour of cooking. Take the foil off and continue to air fry to finish the top.
- Adding macapuno strips to the mixture is a good way to level-up this recipe.
Video
Leave a Comment